Introduction to ROS 2
Introduction to ROS 2 - environment structure and basic concepts
Robot Operating System
The Robot Operating System (ROS) is a set of development libraries and tools for building robotic applications. ROS offers open-source tools ranging from sensor and robot controllers to advanced algorithms. Since late 2017, there has been the first distribution of ROS 2, Ardent Apalone, which significantly extends the functionality of ROS 1. The latest stable version, Humble Hawksbill, is currently being used within the lab. Despite this change, the key concepts remain the same:
🐢 processing based on independent modules (graph concept - nodes. nodes),
🐢 communication through publishing and subscribing ([concept of publisher/subscriber),
🐢 communication with feedback through services or actions (services, actions),
🐢 language-neutrality (any programming language can be integrated, ROS client library, actions). ROS client library.
Dedicated for advanced research projects, ROS 1 could not be utilized for industrial applications. It was limited by weaknesses related to message access security and the lack of adaptation to the requirements of real-time systems. The second generation, ROS 2, was redesigned to meet these challenges. The differences between the versions are described in article.
Basic concepts
Environment (workspace)
A ROS environment is the place where packages are stored, e.g. for a particular robot. There can be many different environments on one computer (e.g. ros2_robotA_ws, ros2_robotB_ws).
Example environment structure:
ros2_ws
├── build - contains files for the build process, so that only new changes can be included in the re-build
├── install - place where packages are installed
├── log - contains the log of the build process
└── src - developer's ROS workspace containing packages
Building the ROS 2 environment is done using colcon,
with the following command:
colcon buildIt is possible to build a single package:
colcon build --packages-select package_nameThe first step before working with the built ROS environment is to set the environment variables (source), so we can access the packages in a particular terminal.
In the ~/ros2_ws directory, call the command:
source install/setup.bashEvery time you open a terminal window and intend to work in a particular environment, call the above command in the appropriate directory.
It should be called in the root directory of the ROS 2 environment
(e.g. ~/ros2_ws).
Package
A package is the place where nodes are stored. It is used to organize code so that the software is modular.
Example of a package structure (Python):
my_package/
      my_package - directory containing the nodes
      setup.py - contains instructions for installing the package
      setup.cfg - holds information about the executable files
      package.xml - contains information about the package and its dependencies
      resource/my_package - directory required to locate the package
      test - contains scripts for automatic testing
The organization of packages is done by using ament,
an evolution of catkin
known from ROS 1. With this tool, packages are structured.
Creating a package (C++):
ros2 pkg create --build-type ament_cmake package_nameCreating a package (Python):
ros2 pkg create --build-type ament_python package_nameIt is possible to indicate dependencies with the
--dependencies argument and to create a node at the same
time via the additional --node-name argument.
Package Dependencies Management
A tool that significantly improves the work of the ROS developer is
rosdep.
It allows the automatic installation of dependencies (packages,
libraries) of all packages in a given environment. Thanks to the fact
that the dependencies are defined in the package.xml file,
there is no need to install them manually.
Many ready-made packages are located in the ROS repository -
rosdistro, each user has the possibility to add his package
to it via pull request. Information on how to add a package
that is not yet listed is here.
To use rosdep call the following commands inside the
~/ros2_ws directory:
sudo rosdep init
rosdep update
rosdep install --from-paths src -y --ignore-src --rosdistro humble
These commands initialise rosdep and then update the
local indexes from the rosdistro package database. The last
command installs the dependencies. The --from-paths src
argument tells you to look for package.xml files inside the
src directory, -y causes console messages to
be automatically accepted, and --ignore-src omits packages
located in the src directory from the installation (since
they will be built by us).
Node
A node represents a single process in ROS. Nodes can publish or subscribe to topics, share or use services and actions.
Starting nodes is done via the command:
ros2 run package_name node_nameTo get the current list of nodes:
ros2 node listTo obtain node information:
ros2 node info <node_name>Graph concept (ROS 2 graph)
A ROS graph (ROS graph) is a network of nodes that process data. It includes all nodes and the communication links between them. A ROS graph contains:
🐢 nodes - processes that exchange messages
🐢 messages - types of data exchanged
🐢 topics - communication channel between nodes
🐢 discovery - the automatic process of establishing a connection between nodes
The tool that allows you to view and visualize the current state of the graph is:
rqt_graphExample graph visualization: 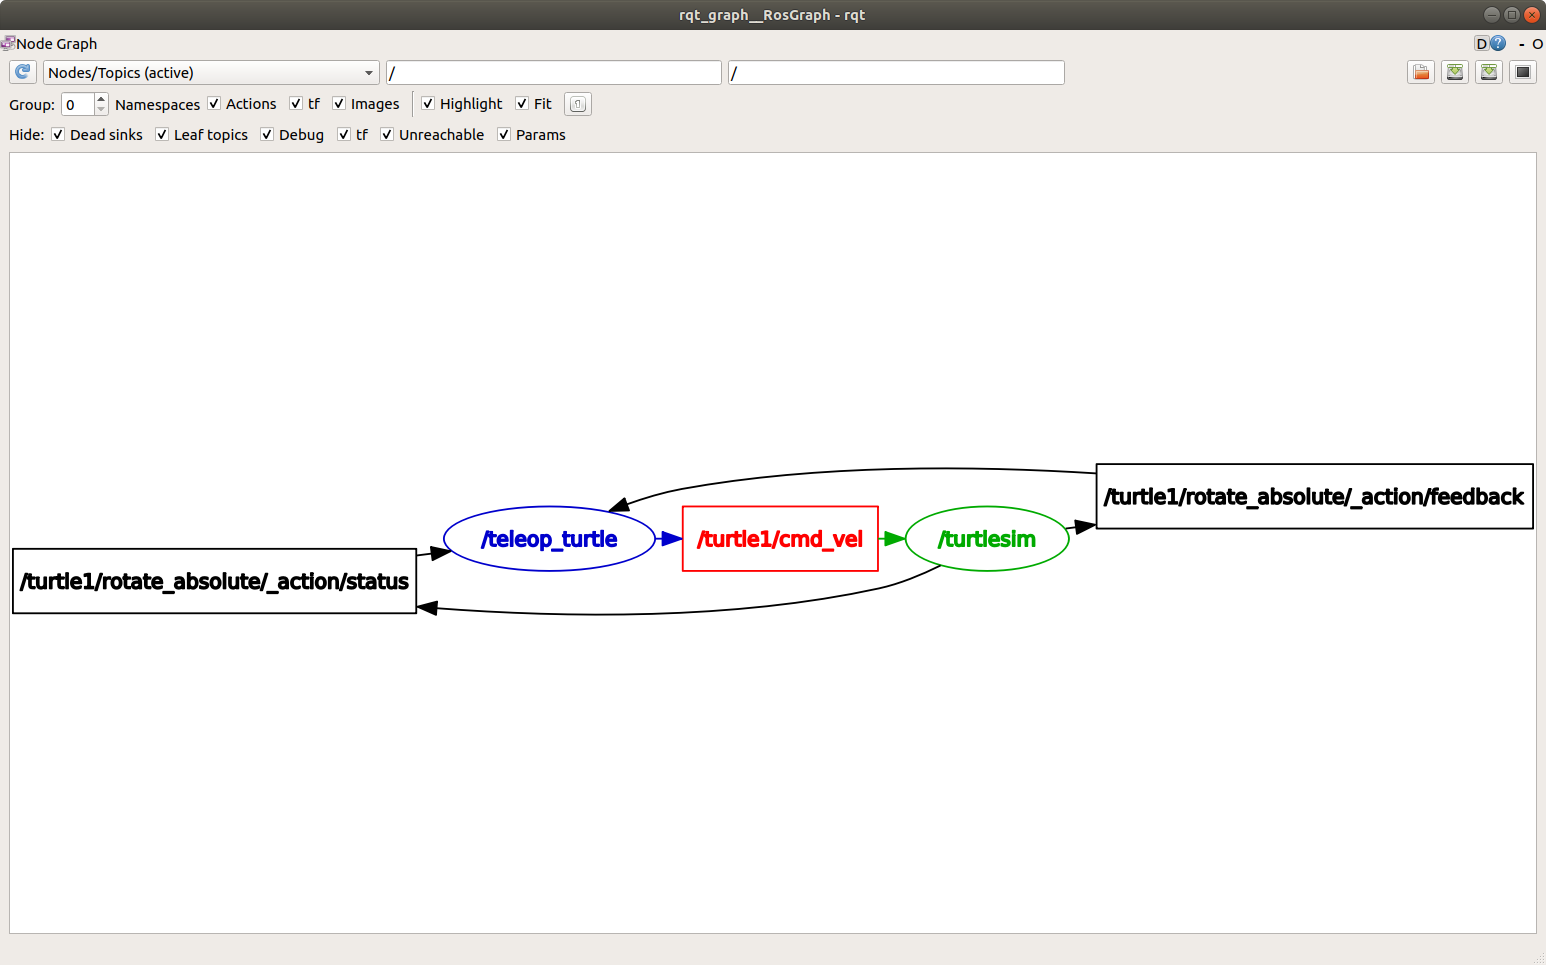
It is possible to group nodes allowing them to be run collectively.
The launch files are used for this. Invoking an existing
launch file is done by the command:
ros2 launch package_name launch_nameIn ROS 2, launch files can take one of three extensions,
.xml, .py or .yaml. The
.py extension is recommended due to the flexibility of this
language. For more information, see the file reference launch.
Topic
A topic is a unique name by which nodes can establish connections and communicate. A topic is created when a node starts publishing a specific type of message.
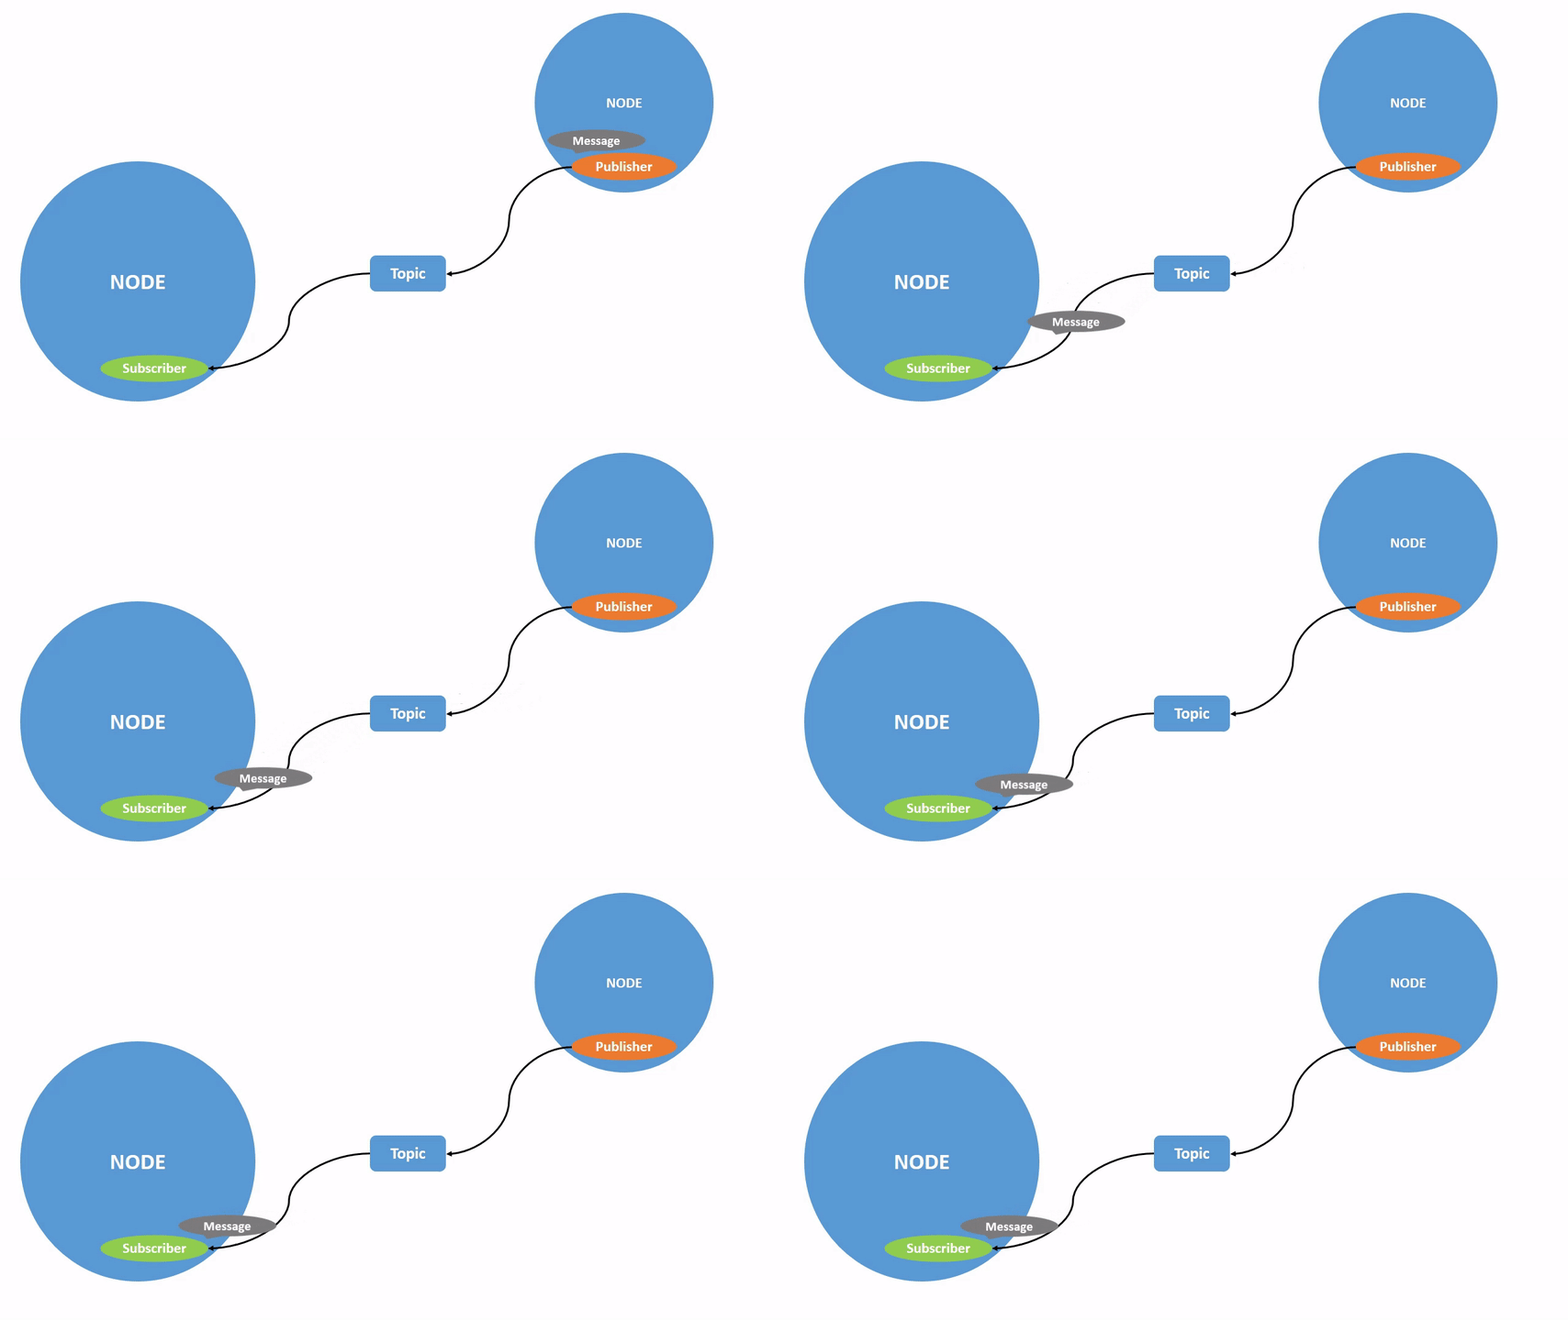
A single node can publish messages on multiple topics and subscribe
to messages from multiple topics. 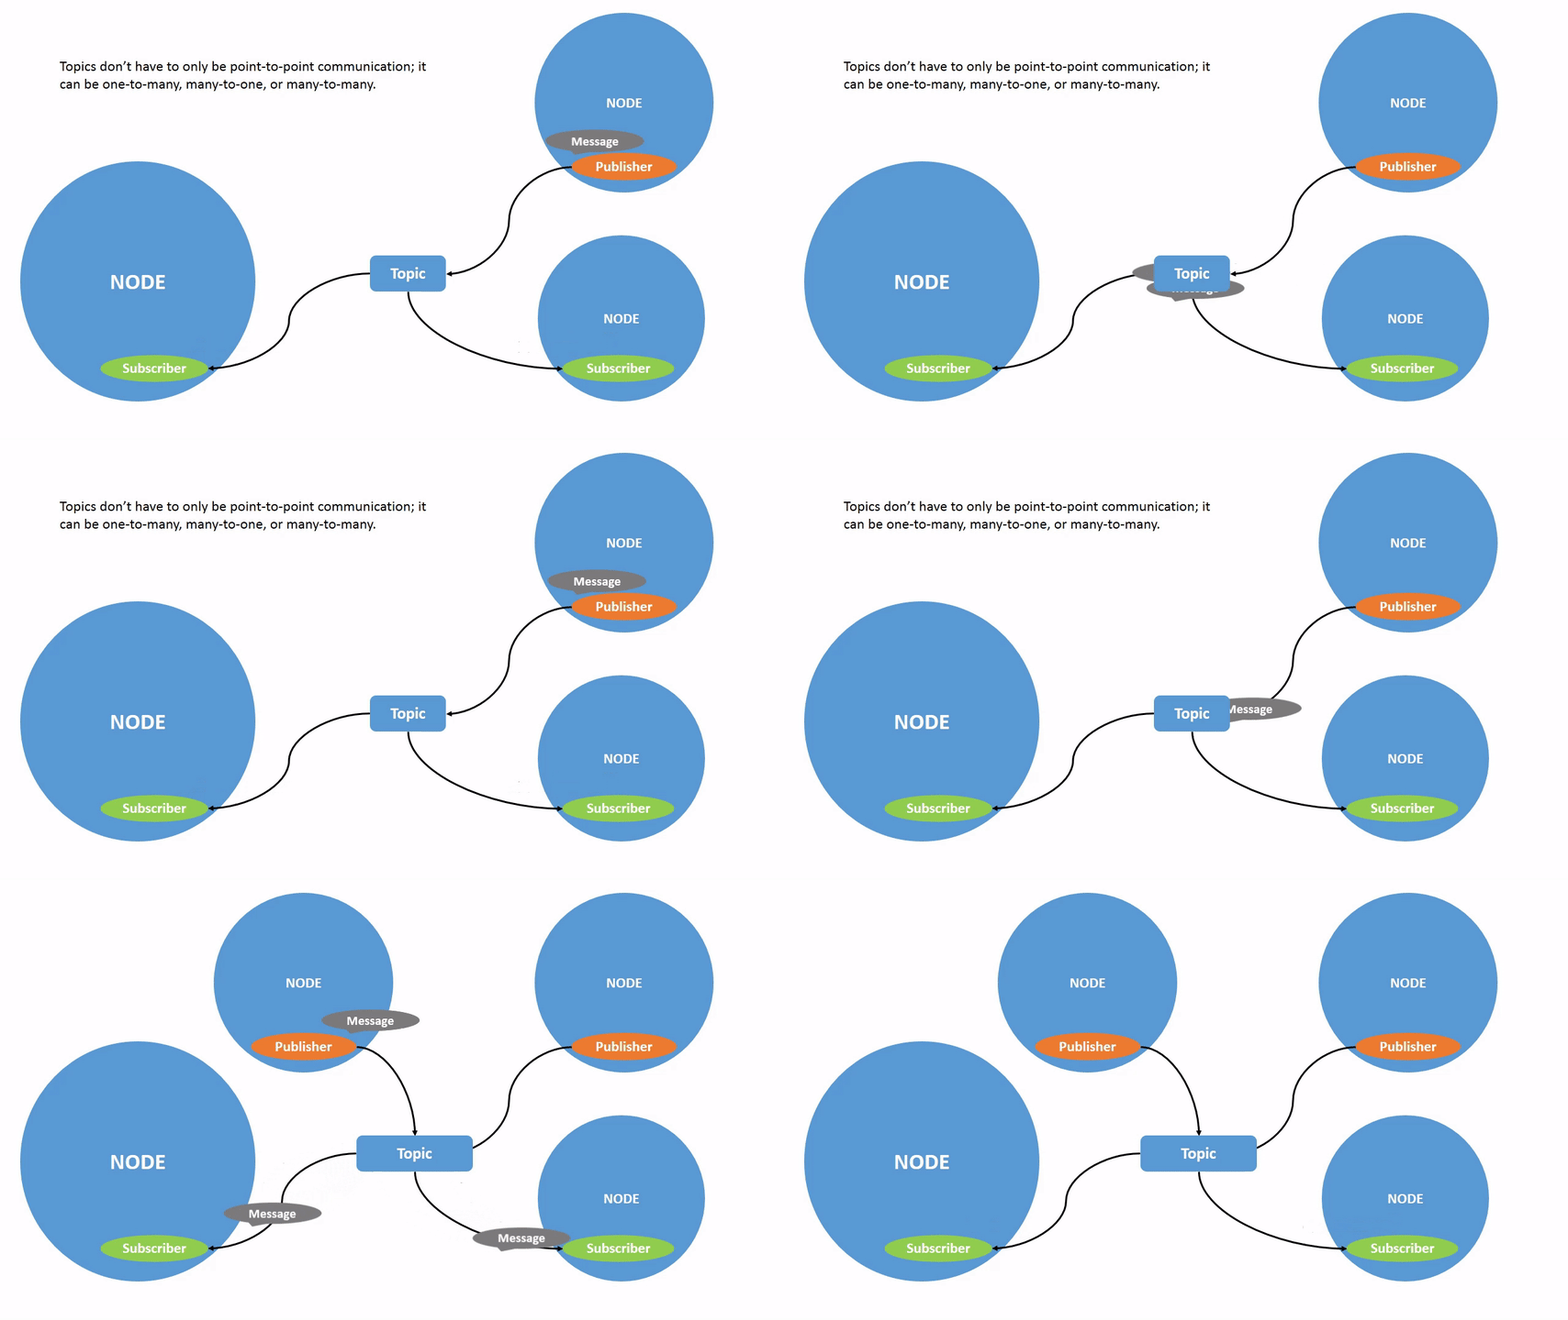
Viewing the current list of topics is done using the command:
ros2 topic listList of topics with their associated message types:
ros2 topic list -tReading messages from the topic:
ros2 topic echo topic_nameA single topic can have multiple publishers as well as subscribers. Information about them, as well as the type of message being exchanged, can be checked with the command:
ros2 topic info topic_nameIt is also possible to publish messages on a topic from the terminal:
ros2 topic pub topic_name message_type 'message_data'Example:
ros2 topic pub --once /turtle1/cmd_vel geometry_msgs/msg/Twist "{linear: {x: 2.0, y: 0.0, z: 0.0}, angular: {x: 0.0, y: 0.0, z: 1.8}}"To publish a message once, you can use the --once
argument.
To read the frequency with which data is published on a topic:
ros2 topic hz topic_nameMessage
A message is an element of communication between nodes. It can contain different types of information (e.g. location, orientation, camera image). Examples of default message types:
For message information:
ros2 interface show message_typeMessage visualization
RViz is a graphical interface that allows you to display
information from topics using built-in plugins. It allows you to look at
the world through the eyes of the robot or sensor. For ROS 2,
RViz is launched with the command:
rviz2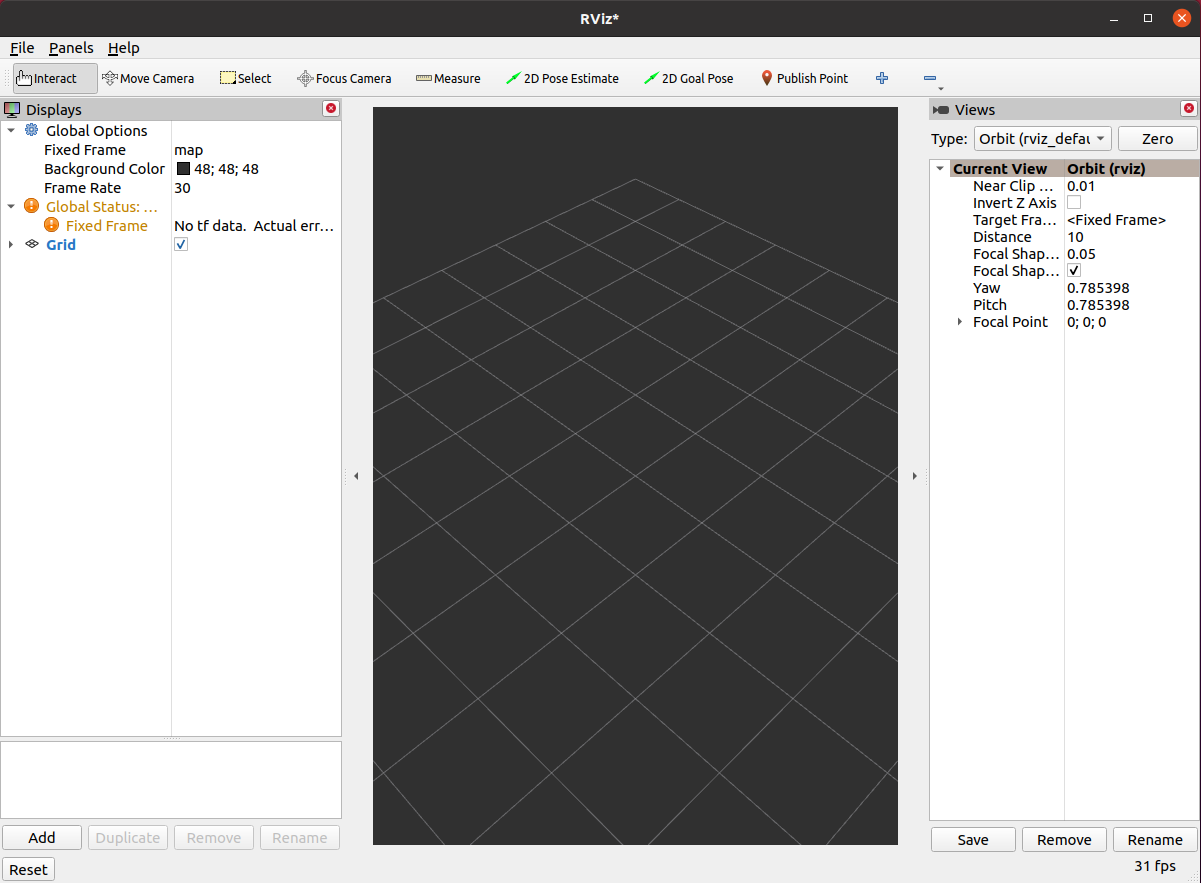
Dynamic simulation
Gazebo is a simulation environment that allows you to
create a working environment for your robot and simulate its interaction
with objects. Gazebo is launched with the command:
gazebo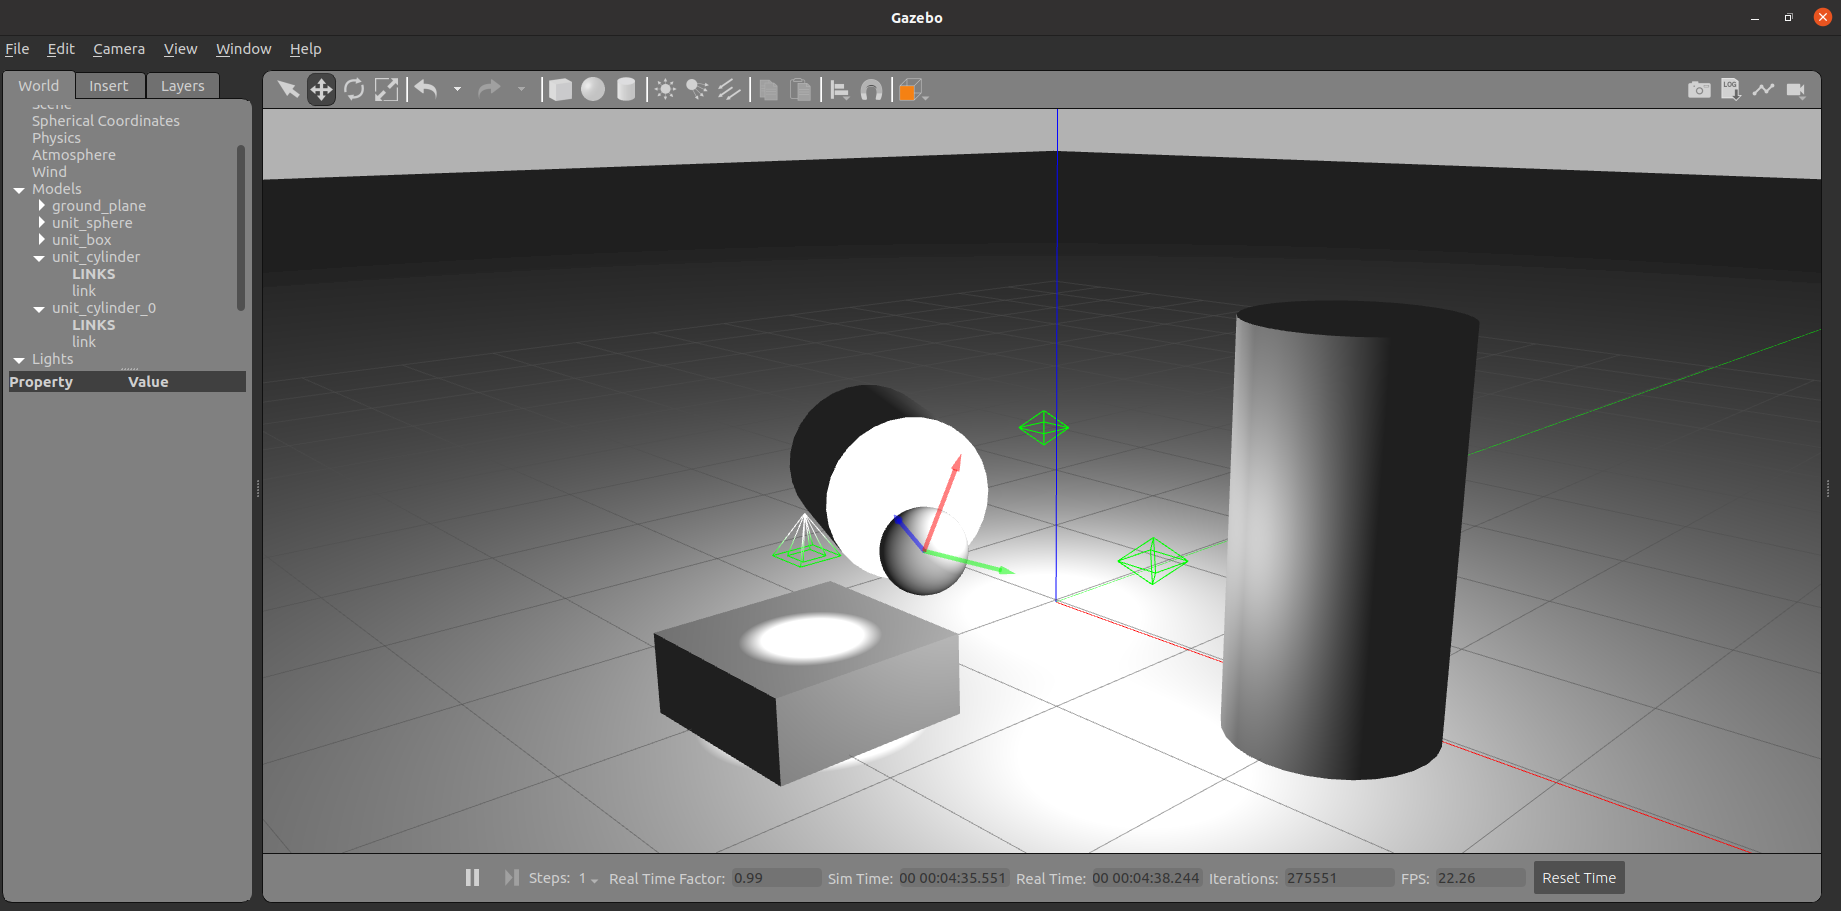
ROS in Docker
On the computers in laboratory room 321, ROS 2 Humble is installed natively. Use it during the classes - skip the “ROS in Docker” section (you can do it on your PC).
You can install Ubuntu 22.04 and ROS Humble natively on your computer. It provides the best performance but also requires a lot of attention during installation to not mess up things on your device. The other solution is to use a Docker container for ROS development.
Here you can find the repository with a ready-to-use
ros2_wstemplate that utilizes the VSCode DevContainer. Instruction is given in the README.md file in the repository.Click on the link depending on your host OS version: Ubuntu or Windows. If you use this template, you can skip the steps below.
Note: USB cameras are not supported by Docker on Windows.
Below you can find some basic manual steps to create your own container with ROS.
To start with, it is a good idea to build your own extended image based on the official one using the following Dockerfile:
FROM ros:humble

RUN apt-get update && apt-get -y upgrade && apt-get -y install ros-humble-desktop
The build can be performed with the command:
docker build -t ros2_lab .A container based on the official image can be run with the command:
xhost +local:root && docker run -it \
    --env="DISPLAY" \
    --env="QT_X11_NO_MITSHM=1" \
    --volume="/tmp/.X11-unix:/tmp/.X11-unix:rw" \
    -v ~/ros2:/root/ros2 \
    --net=host \
    --privileged \
    --name=ros2_lab \
    ros2_lab:latest
We will be able to reuse the container prepared in this way. In order to restart it, just call the command:
docker start -i ros2_labIf we need an additional terminal running “in the container”, we can open it with the command:
docker exec -it ros2_lab bashWorking with ROS 2 with multiple computers on the local network
The standard used by ROS 2 for communication is DDS. In DDS there is the concept of “domains”. These allow the logical separation of connections within a network.
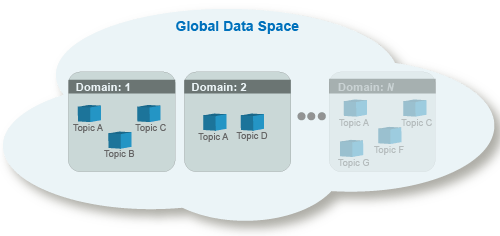
Nodes in the same domain can freely detect each other and send
messages to each other, whereas nodes in different domains cannot. All
ROS 2 nodes use domain ID 0 by default. To avoid interference between
different groups of ROS 2 computers on the same network, a different
domain ID should be set for each group. Within the laboratory, it is
necessary to set a separate unique domain ID for each computer. To do
this, read the number from the sticker stuck to the monitor and
substitute it in the following command in place of
NR_COMPUTER. If there is no sticker on your computer,
select a number between 0-101 or 215-232. For more information, see the
following link: About
domain ID.
grep -q ^'export ROS_DOMAIN_ID=' ~/.bashrc || echo 'export ROS_DOMAIN_ID=NR_COMPUTER' >> ~/.bashrcThe above command will set the indicated domain ID in each terminal window. This will prevent nodes from being visible between different computers on the same network.
Tasks
- Make the domain id change to a unique one. To do this, read the
number from the sticker stuck to the monitor (e.g. K006 - only the
number 6 is selected) and substitute it into the following command in
place of
NR_COMPUTER. If there is no sticker on your computer, select a number between 0-101 or 215-232.
grep -q ^'export ROS_DOMAIN_ID=' ~/.bashrc || echo 'export ROS_DOMAIN_ID=NR_COMPUTER' >> ~/.bashrc💡To observe the changes close the current terminal window and start
a new one, or if you do not want to close the terminal window, type
source ~/.bashrc.
install and run the example node. Download the
usb_campackage and place it in thesrcdirectory of the ROS environment 2. Use thegit clone --branch ros2 https://github.com/ros-drivers/usb_cam.gitcommand.the
usb_campackage defines a dependency on other packages. Perform an automatic installation of the dependencies usingrosdep.build the ROS 2 environment with the
colcon buildcommand and make source:source install/setup.bash.Note: if you have problems with the above installation from source, there is a second option to install the package. You can do a system installation with the
sudo apt-get install ros-humble-usb-camcommand. In this case, the package will not appear in thesrcdirectory of your local environment and you will not need to build this package. To load libraries installed on the system use the command:source /opt/ros/humble/setup.bashinstead of the local equivalent.run the installed package node with the command:
ros2 run usb_cam usb_cam_node_exe.in a new terminal window (
Ctrl + Shift + T), perform the following analysis:5.1 Display the list of topics.
5.2 Display the topic information of
/image_raw.5.3. Display the messages from the
/image_rawtopic.start
RVizwith therviz2command and display the camera image. To do this, locate the “Add” button -> “By topic” ->/image_raw->Image.display the image using the
image_viewnode, install if necessary.sudo apt-get install ros-humble-image-view ros2 run image_view image_view --ros-args --remap /image:=/image_rawRun
rqt_graph. Then re-subscribe to the/image_rawtopic and observe the changes in the graph.install and run the sensors_demos_gazebo package for sensor simulation (instructions are in the
READMEfile of the package). Place it in thesrcdirectory of the ROS 2 environment. Use thelaunchfiles to run it.9.1 IMU.
An IMU is an electronic circuit equipped with one or more triaxial gyroscopes and accelerometers. It is also possible to include a magnetometer.
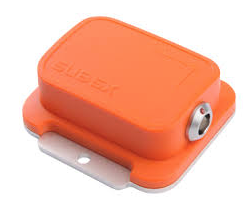
Simulate the device in
Gazeboand refer to the published topic. Display its contents in the terminal.9.2 Kinect.
Kinect is popularly used in robotics to locate robots, detect obstacles and build models of the environment. The sensor returns an RGB image and a depth image.
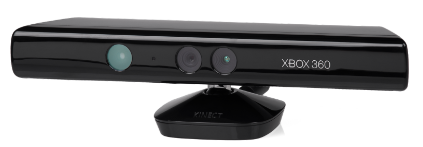
Simulate the sensor in
Gazeboand consult the list of topics. View their contents in the terminal and inRViz.Consider why the point cloud is rotated and the images do not overlap (in the
zaxis).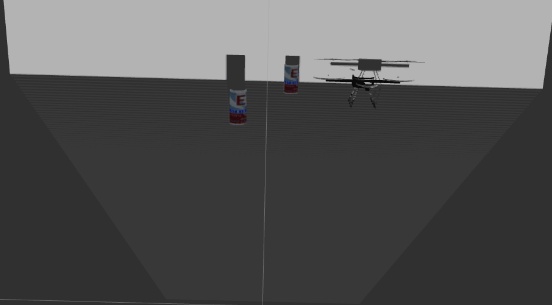
9.3 Hokuyo URG-04LX 2D laser scanner.
The URG-04LX-UG01 laser scanner has a measurement range from 20 mm to 5600 mm with an accuracy of 1 mm.
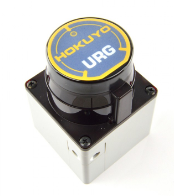
Add any objects within the scanner range from the
Gazebointerface or using the model loading menu.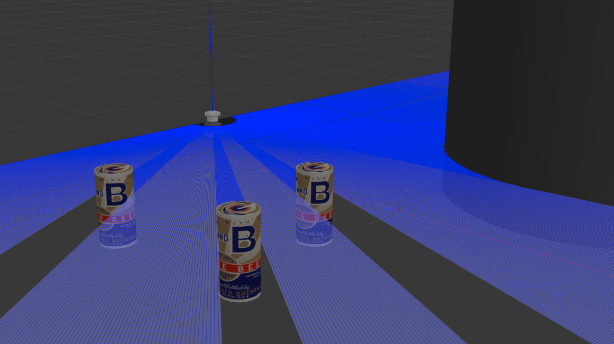
Review the list of topics and display their contents in the terminal and in
RViz.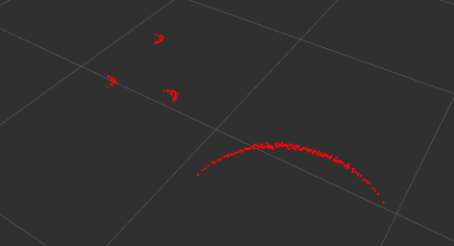
Sources and useful references
🐢 ROS2 - installation - Desktop Install